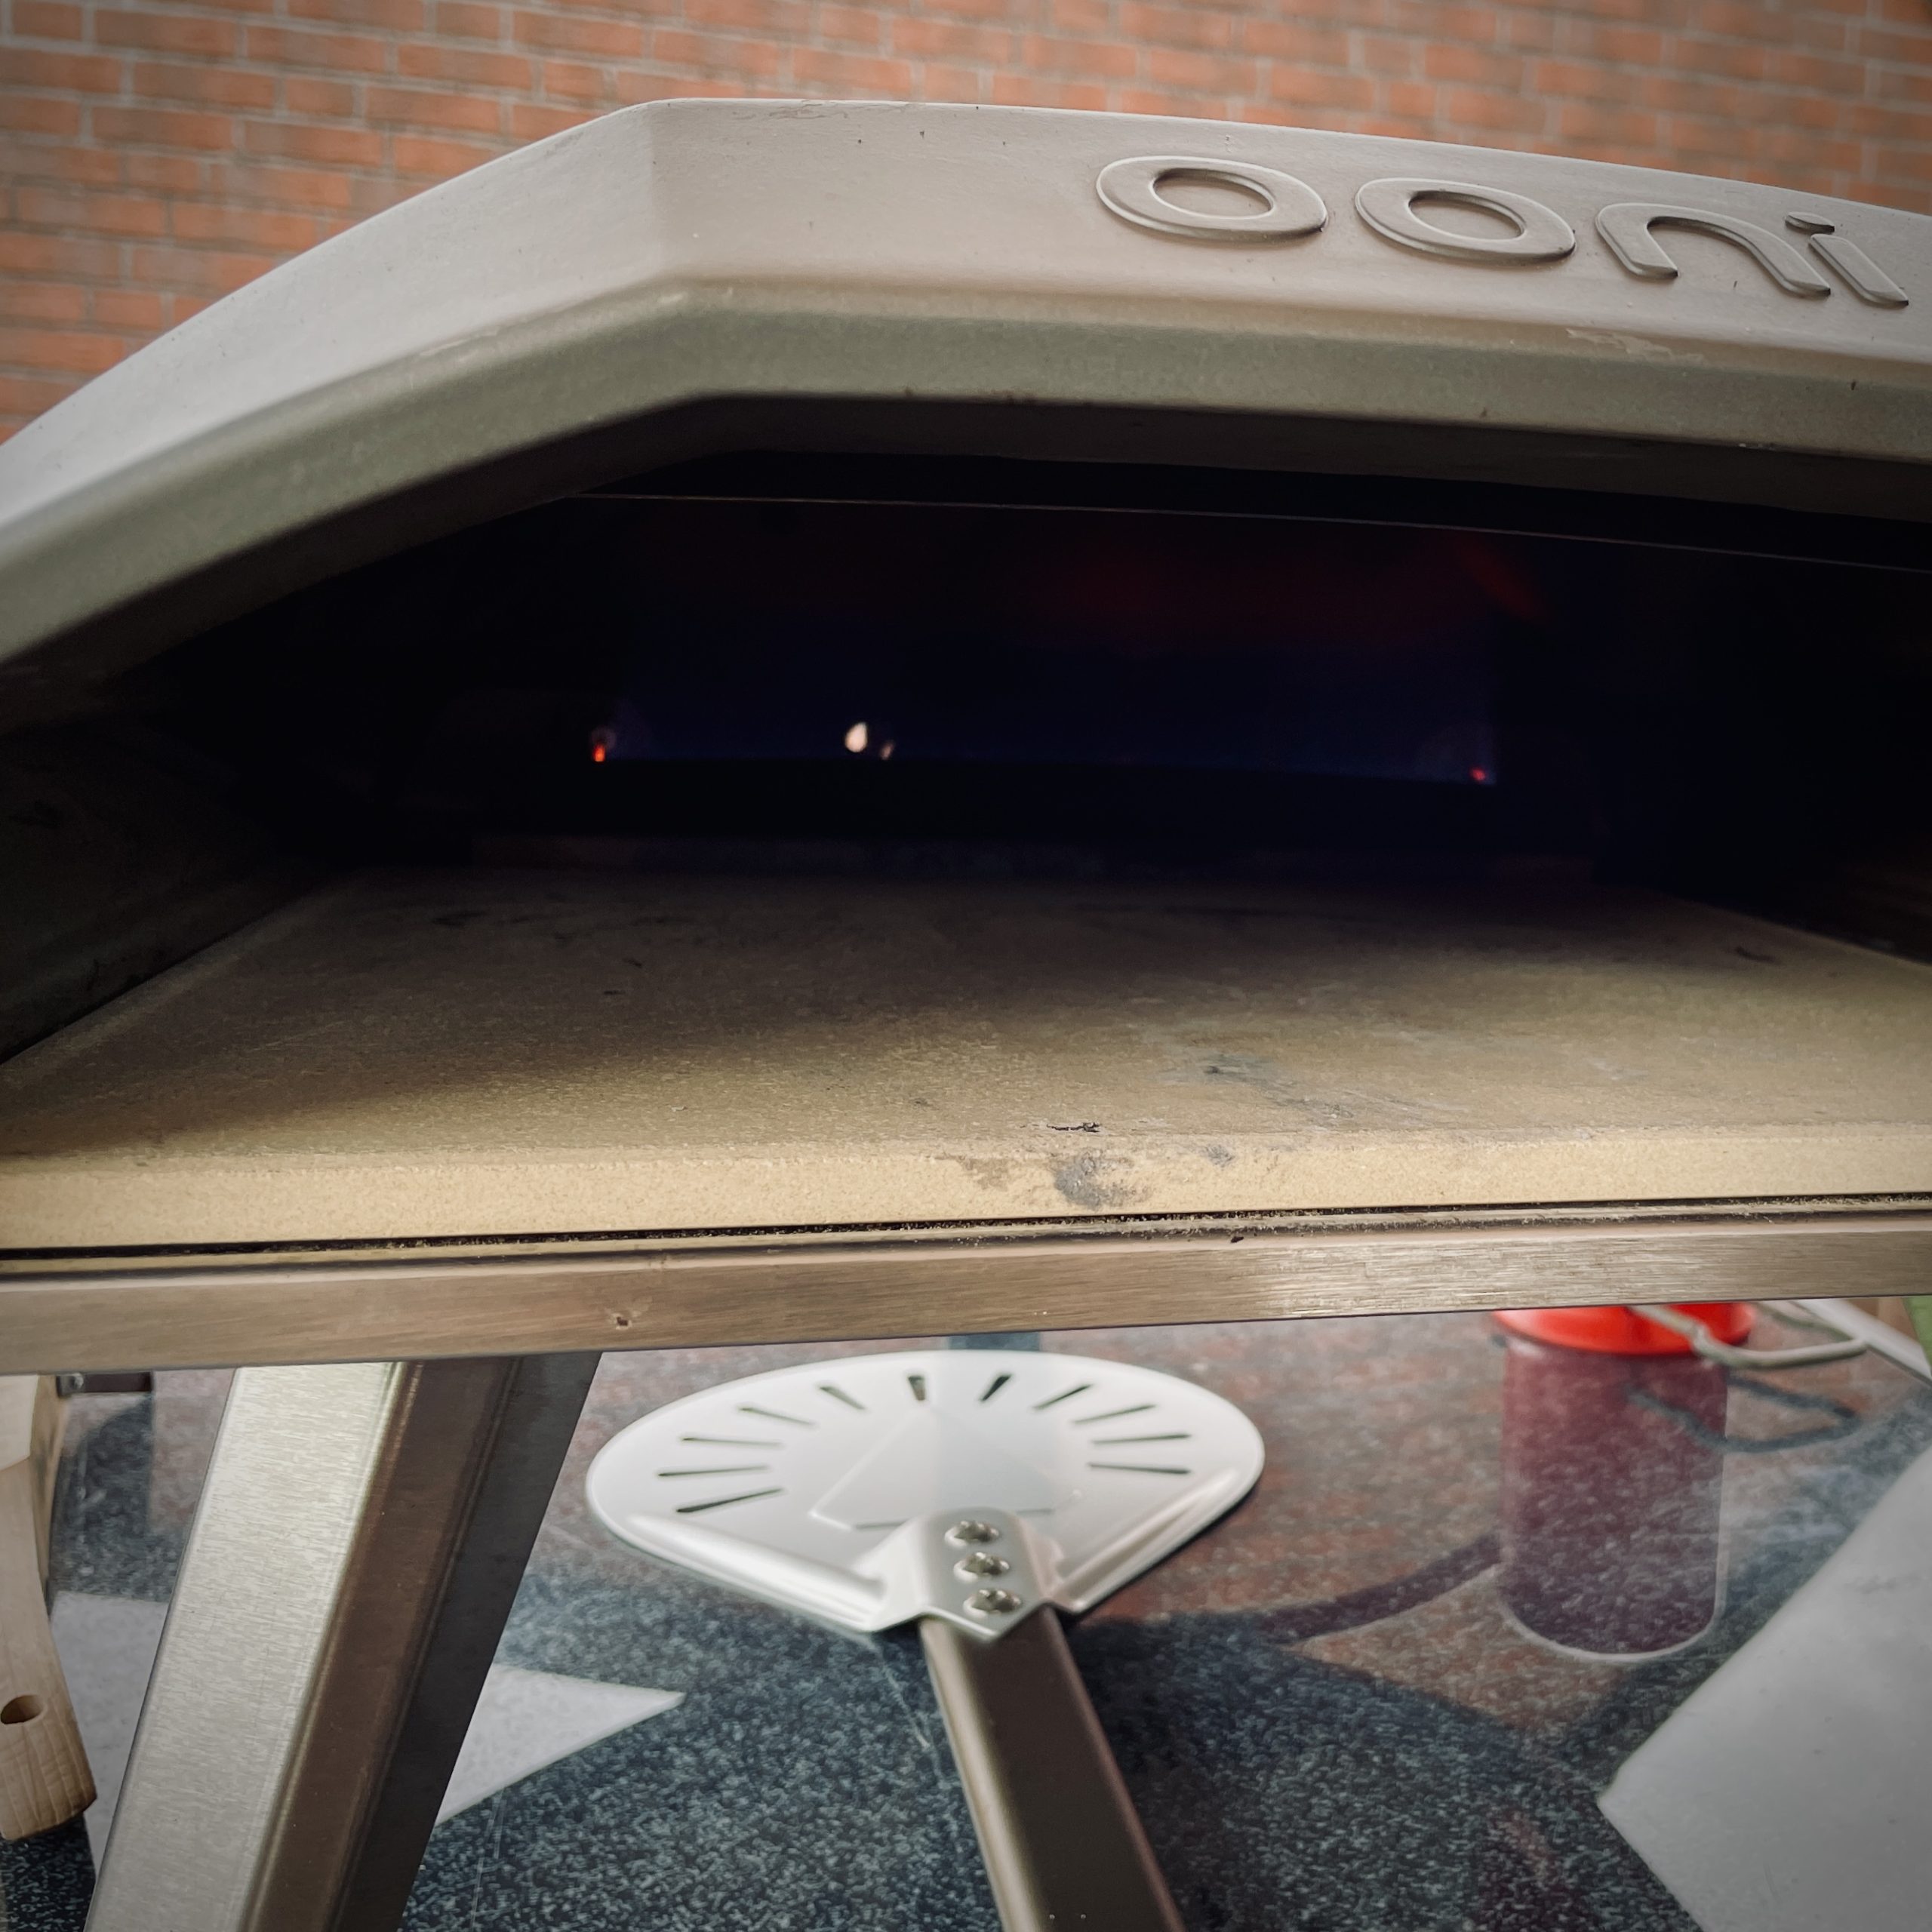
Despite my pizza passion, I “only” own the small Ooni Koda 12. It is a small gas-powered pizza oven with 12×12 inches (respectively 30×30 centimeters) cooking space. It can reach very high temperatures (if wanted, you can reach around 500°C / 932°F), and its inside space is very limited. You can imagine the one or the other pizza catching fire and combusting there. The oven’s big disadvantage is that the burner is found in the rear part – thus you can’t see how the pizza does in the hottest zone of the oven. Therefore cooking with this oven requires some exercise and experience – and a few external tips may be helpful as well.
Get prepared
Put the stone in
After unpacking oven and stone, just slide the stone into the oven. I have turned the logo side down, as I want a smooth cooking surface.
The ideal place
Only outside, please!
Most importantly:
The manufacturer explicitely advices that this oven is exclusively made for outdoor use!
Should you decide, against their (and my own) advice, to use it indoors, please ensure a sufficient air circulation. Among others there’s the danger of carbon monoxide poisoning.
I placed my pizza workplace inside of an empty garage, so I can work kind of outside (but protected from rain).
Safety first!
I’m sorry for mentioning it, but you never know: Of course, the oven should stand safely (not wobbly) and horizontally.
The right height
I’d always recommend to place the oven on shoulder hight or slightly lower. As you will need to look inside, you can avoid bending or kneeling down, and you can (re)act faster.
The right light
Additionally, the oven should not be placed with its mouth against a light source (e.g. the sun), because despite the hot flames it’s rather dark inside it. Although you can only see very little, you should be able to see at least a little something. Ideally, the mouth shows diagonally towards strong light sources.
Wind
Ideally, the oven stands protected from wind. Otherwise on one hand the flame can extinguish, on the other hand the flame can be pushed along the oven’s ceiling and out of the mouth, which is potentially dangerous for persons and things in front of the oven, and also can set the pizza in the oven on fire.
Let’s get superficial
Flammable or sensitive materials should anyway stand far enough away. The oven’s surface gets very hot.
Below the oven, however, the temperatures rise just very moderately, so theoretically it’s no problem to use wooden or plastic surfaces to place the oven on. Of course it can come to “accidents” which might not have happened with a fireproof surface, but as long as you hold on to the recommended safety instructions (leak checking before each use, checking the gas hose, not leave the oven lit unattendedly), you should be good to go.
Get connected
Once the oven stands, you can connect it to the gas tank.
As the gas tanks and the connectors are very different from country to country, I’d ask you to stick to the instructions in your local manual. Thanks for your understanding.
If you hear or smell gas float where it shouldn’t, please immediately close the tank’s valve and check the supply. And make sure everything is connected thorougly and tightly, possibly double-check everything. It’s all a small effort considering your own and your guest’s safety!
Heating up!
Fire!
We push the gas regulator on the backside in and turn it leftwards. The gas begins to flow, we hear a regular hissing. Keep it flowing for 5 seconds before igniting the spark by turning the knob over the light resistance, until you hear a loud clack.
If the gas burns now (we can hear that through a lower frequency hissing, hold the knob pushed in for further 5 seconds, then let it go. It should stand on MAX setting now.
In case the gas does not inflame, you want to let the knob go (the gas flow stops), push it again and turn it back to "OFF". Now you can repeat above mentioned steps.
Should the gas indeed inflame, but extinguish after letting go the knob, the gas flow should stop. In this case, too, we push and turn back the knob and try again.
If the gas burns continuously, regularly and ideally with a blue flame, we leave the oven heating up.
What a hot oven!
Usually, the stone reaches temperatures of 380-420°C / 715-790°F within 15-20 minutes. The metal plate on the oven’s ceiling should glow red.
The stone will show a strong temperature gradient. In the center close to the flame, it will be the hottest, and significantly cool down towards the mouth. Differences of 200°C / 350°C can be noticed. That’s not a big deal, as so we can keep control over the pizza bottom’s cooking later on.
Finally we’re cooking
Getting the pizza inside
Don’t hurry
In the meantime you surely have put your wonderful dough balls, ingredients and tools in place and you’re itching to get going. But stop!
Please prepare your pizzas only when you’re ready to cook them. Chances are that you have them soaking through and sticking on your work surface, if you start making them befor you’ve made sure the oven has reached the right temperatures.
The ideal temperatures
Speaking of which, it’s nearly impossible to name the ideal ones. Again, they depend from various factors. There are, however, two interlinked rules of thumb that should be considered:
- The higher the dough’s hydration (read more…), the lower should be the cooking temperature and the longer should be the cooking time, in order to give the water a chance to evaporate. Otherwise the dough might remain raw.
The lower the dough’s hydratuion, the higher should be the cooking temperature and the shorter should be the cooking time, in order to have the water evaporating promptly, but the crust not drying out. - Longer cooking time at lower temperatures = Dryer, crunchier result
Shorter cooking time at higher temperatures = Moister, airier result
It is nearly impossible to make precise indications. Here at the very latest, you must develop your own understanding and feeling. Don’t worry, it will come over time!
Let’s launch a pizza
Now that you have prepared your pizza on your work surface, you can transfer it to your pizza peel (if need be slightly dust it with semolina beforehand). There’s multiple ways to do that:
- Place the peel close to the work surface, carefully grab underneath the pizza with your fingers and then uniformly pull it onto the peel,
- push the peel flatly underneath the pizza with a single, resolute movement, or multiple jolts. Pinch the pizza up a little with one hand might be handy.
Little esthetic surgery
You can, again, grab underneath the pizza’s edge and pull it into the desired shape and size. If you enlarge it a lot, you can add some topping ingredients, too.
Final check
Now it’s recommended to give the peel a shake. On one hand, you can see whether the pizza is sticking to the peel, on the other hand you can shake off excess semolina, which else would burn in the oven.
Ignition!
Now you’re ready to launch the pizza. Again, there are multiple ways to do it. The most safe one is to shake it off the peel rather slowly. Professionals usually do it in one shot by quickly pulling the peel away in the right angle. It looks so easy, but I can totally understand anyone who’s afraid of it.
Tip: Let a small piece of the pizza border slide onto the stone. It will stick there for a short while, and ease the peel pulling.
Rotation
Without question, the heat comes just from one side, but a pizza is known to be round and shall be cooked regularly all around. Thus we have to rotate it. The right timing can determine victory or defeat (yeah, failing can feel that way). There’s usually two obstacles:
- The fine line between a nice “leoparding” and total combustion, and
- the rather raw crust tending to stick on the stone, particularly close to the oven’s mouth.
I usually cook my pizza on nearly maximum flame setting (just minimally turned down) and found this way to be the best practice:
First partial rotation
After launching, I count ca. 20-25 seconds and then hold the turning peel into the heat inside the oven for about 5 seconds to heat it up, too.
Accordingly, after approx. 25-30 seconds, I carefully slide the hot turning peel underneath the pizza’s edge on the right side, and completely loosen it from the stone, moving the peel from the right to the left side. Once it is loose, I slightly lift the peel and pull it back towards the mouth and the right. Thereby, the pizza rotates about 75°, and gets placed back in the same spot.
Following rotation
Before the next partial rotation, I wait for ca. 10-12 seconds, preheat the peel again for a short time, and repeat the rotation movement of approx. 75°.
Now two or three further partial rotations of about 60-75° follow each ca. 15 seconds. This way, the pizza gets regularly cooked with strong heat all around, without combusting.
Visual check
In the meantime, you should from time to time check the pizza’s bottom by lifting it with the peel. In the best case, it hardly shows any black spots or areals, but is not totally pale. If it results black, the stone has been to hot, if it results very pale towards the end of the cooking process, the stone has been to cold.
Eventually, I slide the turning peel under the pizza, retrieve it from the oven and have a look at it. Should I see a too pale, uncooked part, I rotate the pizza on the peel in a manner that it part shows towards the flame, and hold it into the oven close to the flame for a few seconds.