Many of us hobby pizza makers may be calling a stand mixer our own, but few of us possess an actual dough machine. With a dough machine, you can of course achieve ideal results. These devices were especially made for doughs like the pizza ones, so that they provide for the more or less ideal processing. Allround stand mixers instead don’t.
Nevertheless, it is absoultely possible to make a good pizza dough in a stand mixer, however with limitations regarding the hydration. You will need to apply some extra manual work and possibly make use of your fridge.
I will not make any precise timing specifications, as nearly everything has an influence on it: The flour, the hydration, the machine, even the room climate. By looking attentively, you will notice the dough’s constitution as well as the machine’s efforts and noises change in the course the process.
Required tools
- Flat beater
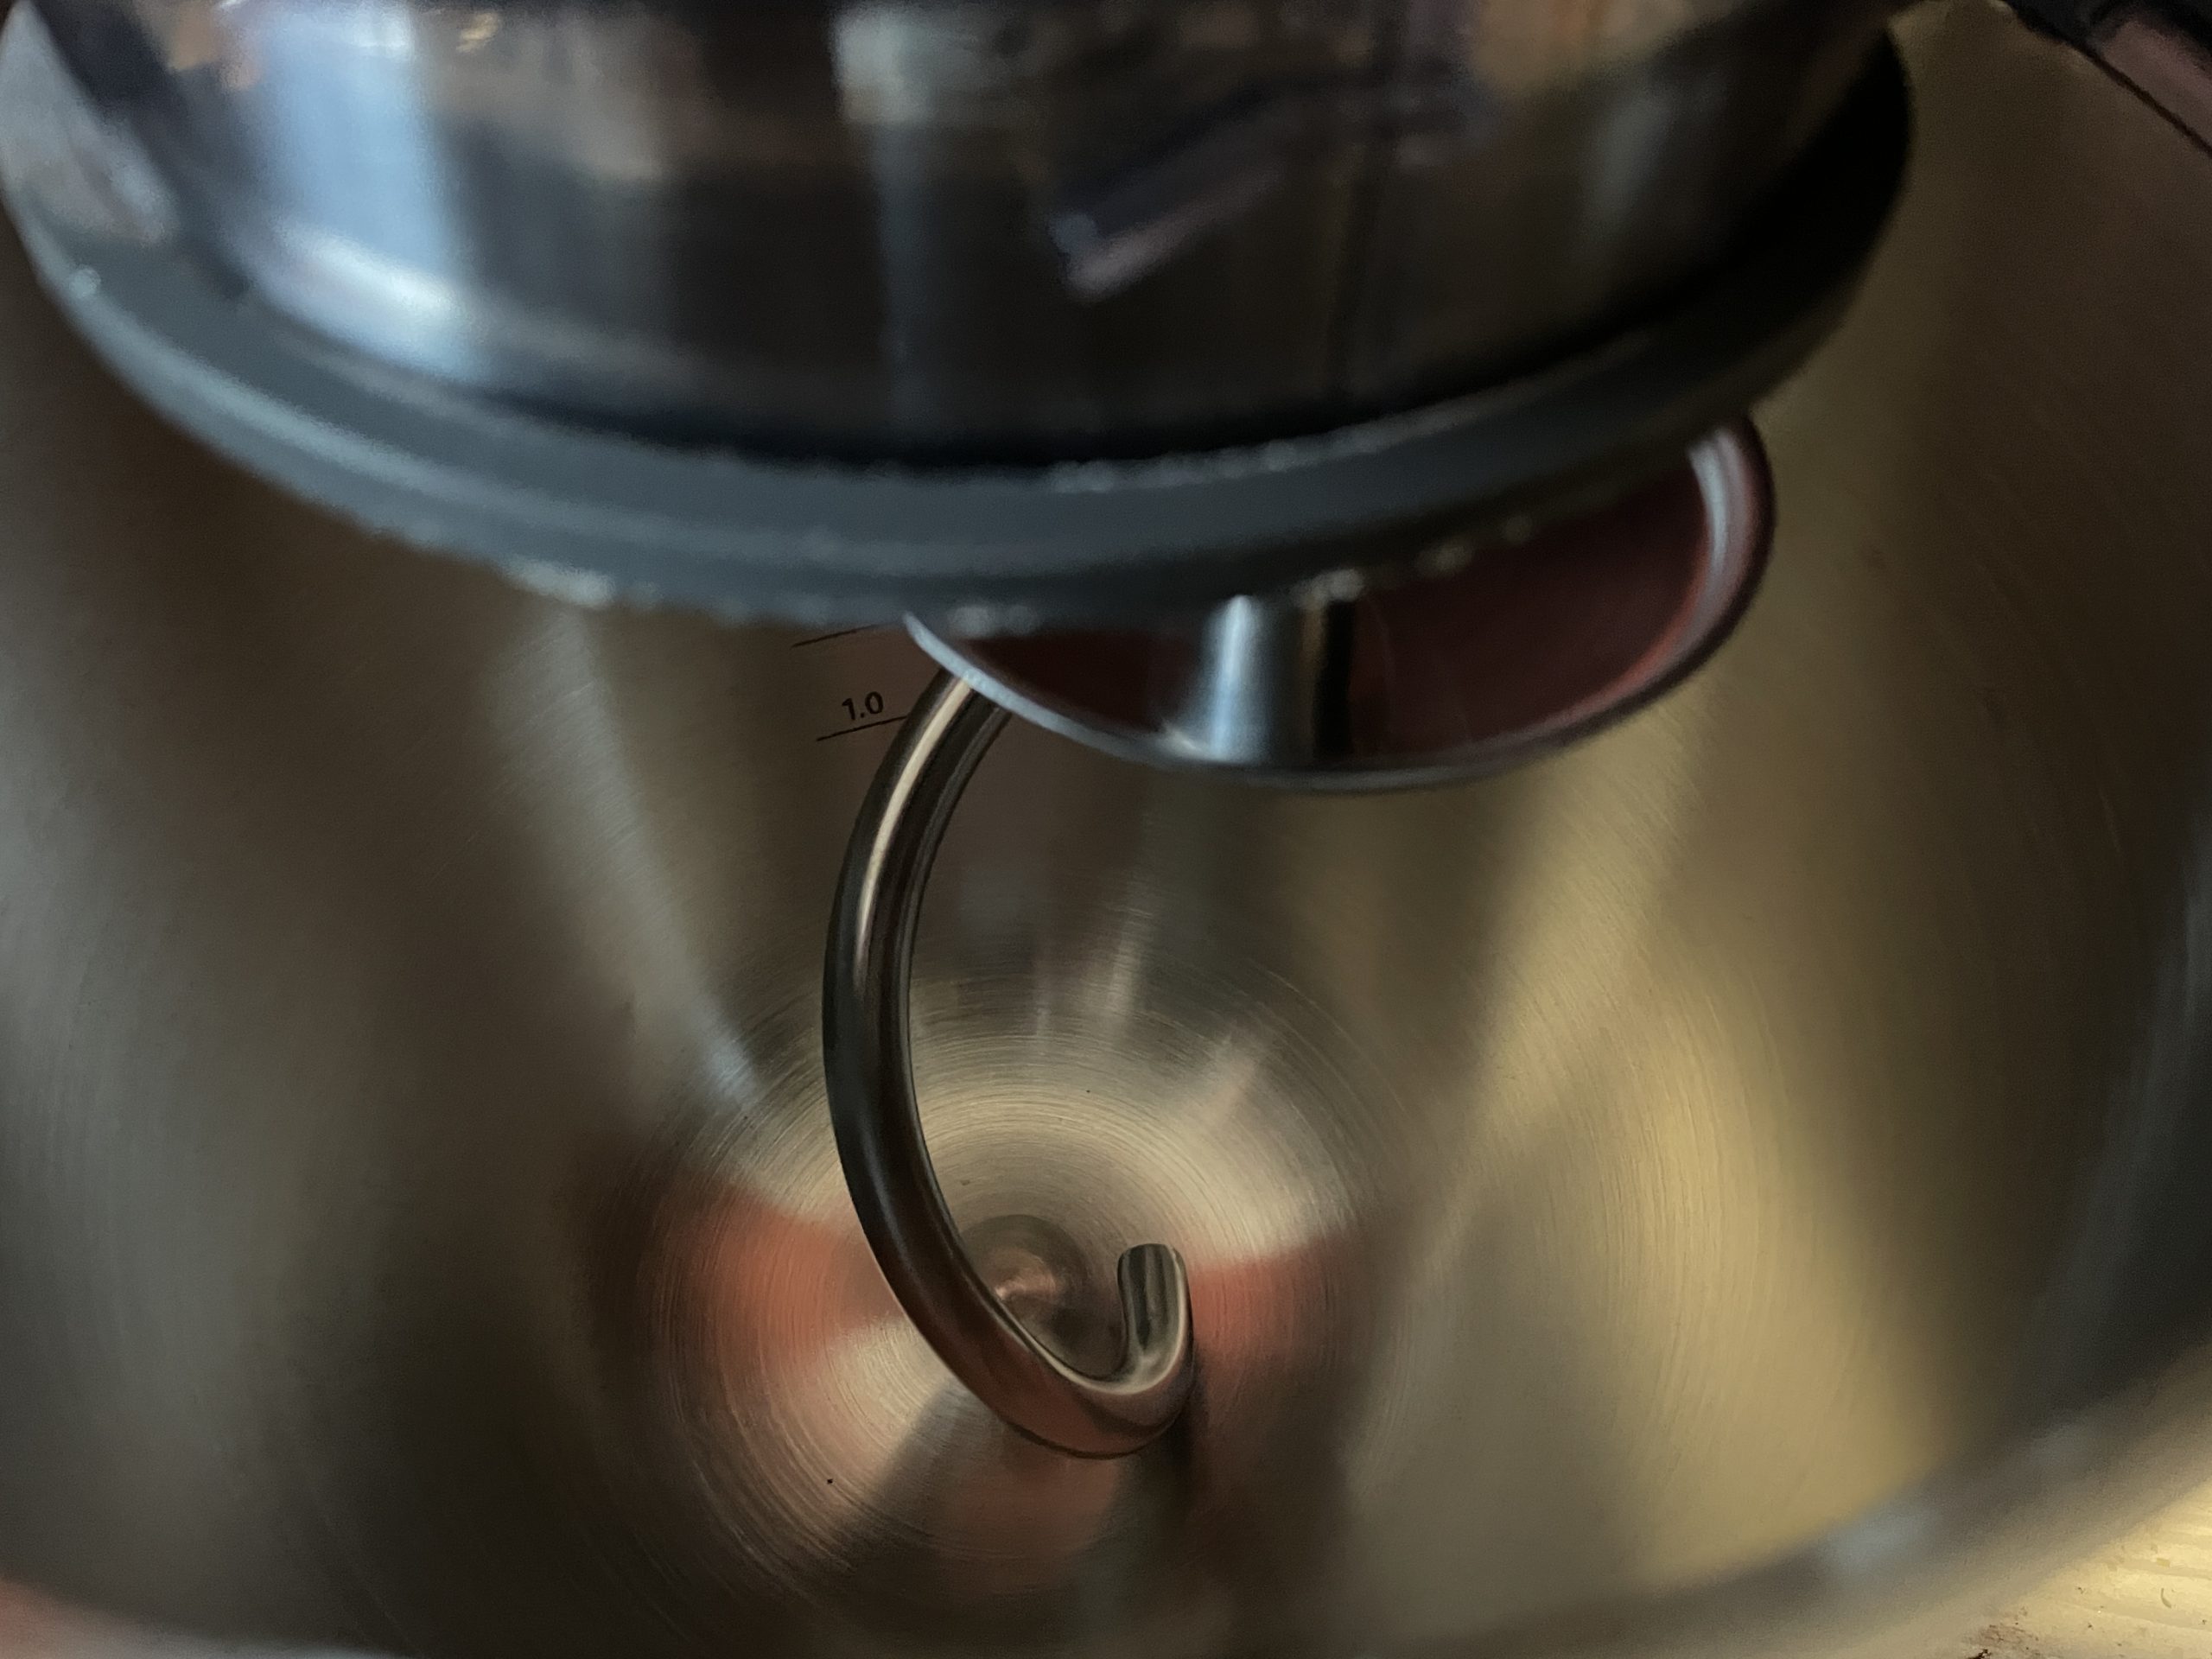
- Dough hook
- Pouring shield (if necessary)
- Dough scraper, Spatula, or similar
- Measuring jug or similar
- Infrared thermometer (if necessary)
Working steps
- First of all, we weigh our ingredients thoroughly. The flour can be put directly into the mixing bowl, the water into the jug.
- In case we have rather coarse salt, we can keep 10-20% of the water aside in another container and dissolve the salt in it. For fine salt, this is not necessary.
- Now we crumble the fresh yeast into the flour (dry yeast is just “dispersed” onto the flour), attach the flat beater to the mixer and start it on minumum speed setting. As, depending on the machine’s speed, dry flour could be swirled up and out of the bowl, we can attach the machine’s pouring shield.
- We’ll now add in the largest part (80-90%) of the water and have the machine mixing until the flour will have absorbed all the water. If the mixer struggles, you can slowly add little more water.
- Meanwhile we can raise the mixing speed by one or two steps, should the mass stick to the beater, or else we can stop the mixer and loosen it from the beater with a dough scraper or similar. It’s important that the whole mass will somehow be mixed together, in order to have the gluten forming and interweaving regularly.
- When everything is well mixed and compact, we can add the salt and, again slowly, pour the remaining part of water into the bowl, so that the salt can dissolve.
- If we dissolved the salt in water before, as described above, this step is of course replaced by just adding the salty water.
- Now we let the machine mix on (if need be, also raising the speed or detach the dough manually from the beater), until all water is incorporated. Then we stop the machine, finally detach the dough from the beater.
- We remove the beater and attach the dough hook instead, close the machine and restart it at low speed.
Note:
At latest from this point on you should from time to time check the dough's temperature with your IR thermometer (or food thermometer). It should not exceed 25 (±2) °C / 77 (±3) °F, as it would get unstable and might become moist - which would be the exact opposite of what we want to achieve.
- Now the dough is finally getting kneaded, meaning the gluten gets “stressed” and strengthened. In an ideal case, you will notice after a short time that the dough detaches completely from the bowl and draws up the dough hook.
- In case this does not occur after a few minutes (particularly on warm days, with weak flours and/or high hydrations), it may be helpful to detach the dough from the hook, install the pouring shield to cover the dough, and have the dough resting for 10-15 minutes. By doing so, the gluten gets time to form and relax. Should the dough have got exceptionally warm, we could transfer it to the fridge during that time.
- Now we switch the mixer back on and raise the speed significantly (without exaggerating it though), and have it kneading the dough for about one minute. If necessary, we repeat these steps (resting and mixing) multiple times, until the dough eventually detaches from the bowl.
- As soon as we managed this, we remove the dough from the hook, take it out of the bowl and transfer it to our workspace, where we stretch and fold it over itself a few times, until it results in a kind of ball.
It could still be sticky at this point. Don’t add further flour, but spread a little olive oil in your hands and work with just a few fingers in order to detach it from the workplate. A dough scraper can be helpful, too. - Once done, we again cover the dough with the mixing bowl and let it sit for 30 minutes. During this time, the gluten mesh will relax – as we know, every application of a force makes it “contract” and become nervous/stubborn.
- As soon as this time is over, we remove the dough from the workplate (dough scraper/spatula) and stretch & fold it again. We now should notice the dough becomes much smoother and less sticky. If these does not (sufficiently) happen, let it sit for 15-20 minutes again and repeat the stretching & folding.
- Eventually, we must form a dough ball and “close” it. Some pinch the “seam” with their fingers, usually you can see people do what Italians call “pirlare”: The dough is pulled with both hands over the workplate towards one’s body with the fingers in a certain position. The dough ball is sealed automatically.
- Basically, the dough is now ready and can be put into a sufficiently large container (possibly slightly oiled inside).
- In total, the dough shall rest 1-2 hours at room temperature in order to get the fermentation process going, before it is being put into the fridge or further processed.