…without beating around the oven!
This recipe is the ideal base to learn more later on, and just perfect in case you need it “quick & dirty”.
It is based on the original Neapolitan pizza dough, but considerably simplified, in order for you to realize it in few simple steps at home. The original Neapolitan pizza dough is a so-called direct dough, meaning all ingredients are processed in one operation. In contrast, there also are indirect doughs, for which a pre-ferment dough starter needs to be made in advance. More on that later on.
About the water quantity: For newbies, I recommend to start with a lower amount. Especially when the flour is relatively weak and won’t absorb much water, a higher so called hydration can make the dough tricky to work with, as it can get very sticky.
More info about the flour’s strength
Further information about dough
Ingredients
- 1000 grams flour (at least 11% protein content)
- 560-620 grams water (cold)
- 25-30 grams salt
- approx. 1.5 grams fresh yeast or 0.5 grams dry yeast
Working time
- approx. 30 minutes
Total time
- approx. 6.5 hours
Preparation
Put 2/3 of the water into a large bowl and dissolve the salt in it.
Add around 10% of the flour and mix.
Add the yeast in the remaining third of water, and pour this mixture into the bowl.
Carefully dump half of the remaining flour into the bowl with one hand, while mixing it in with the other hand (you can help yourself with a fork or a spoon in the beginning). Goal is to reach that the flour is completely incorporated and no dry flour residues are left over.
As soon as this occured, gradually add more flour and mix until incorporated. During this process, you can pass on to actually kneading the bulk, as the dough might appear very solid and too dry. But appearances are deceptive – please go on kneading forcefully.
You can meanwhile transfer the dough to your clean work surface in order to ease the kneading with the heels of your hands (eventually leading to incorporation of possible residues).
You will after some time notice a change in the dough’s consistency, it will result wetter. From now, besides kneading, you can hold the dough with one hand, stretch it with the other hand and fold it over itself.
After approximately 15 minutes of rather intense kneading, you should notice another consistency and behaviour change in the dough. At this point, you can terminate the kneading process and cover the dough with the previously used bowl or a wet cotton cloth.
Let it relax for another 20-30 minutes and “fortify” it stretching and folding it again a few times. Its surface shall result very smooth and not at all sticky. If that does not happen, repeat this step including the resting time once more. Once completed, cover it again and have it rest for 1.5 to 2 hours.
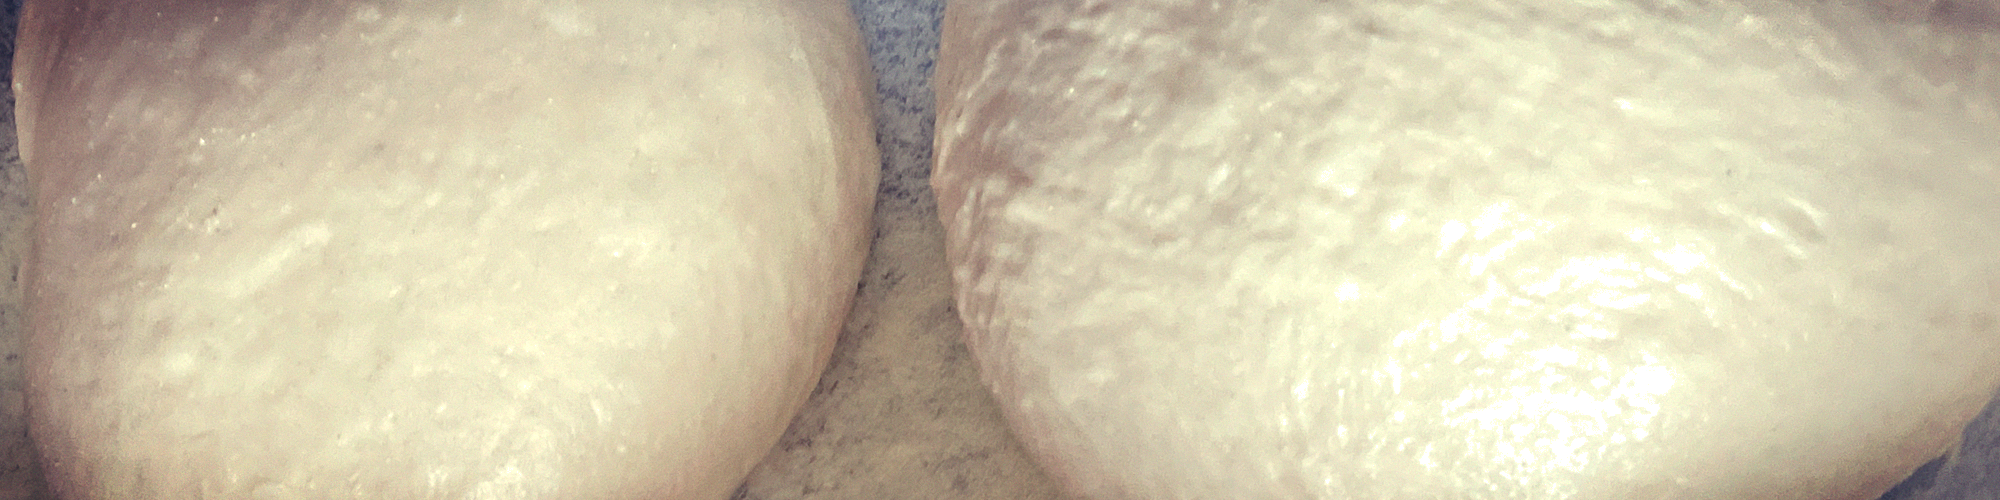
As soon as this resting phase is over, you can divide the dough into single portions (the quantity is sufficient for 6 rather large or 7 rather small pizzas), of which you subsequently want to form smooth balls.
For further proofing, these can now be placed either inside single containers (tip: slightly oil the containers inside first), or else in large proofing containers. Depending on the ambient temperatures, the dough balls will have doubled in size after 4 to 4.5 hours.
The temperatures are very crucial. If you feel it’s necessary, you can help the dough rising by putting the container(s) inside you home oven with turned-on lamp. This will raise the temperature to approx. 27°C / 81°F. This makes sense in case the room temperature is rather low, e.g. somewhat below 23°C / 73°F.
This is what you need to develop an intuition for over time, always having in mind that a dough is “alive” and reacts sensitively to environmental changes.
Once the dough is ready, you can stretch it – it will be explained soon. Meanwhile I’d recommend to watch videos on that topic on YouTube or the like. In this case, pictures say more than I could ever talk.